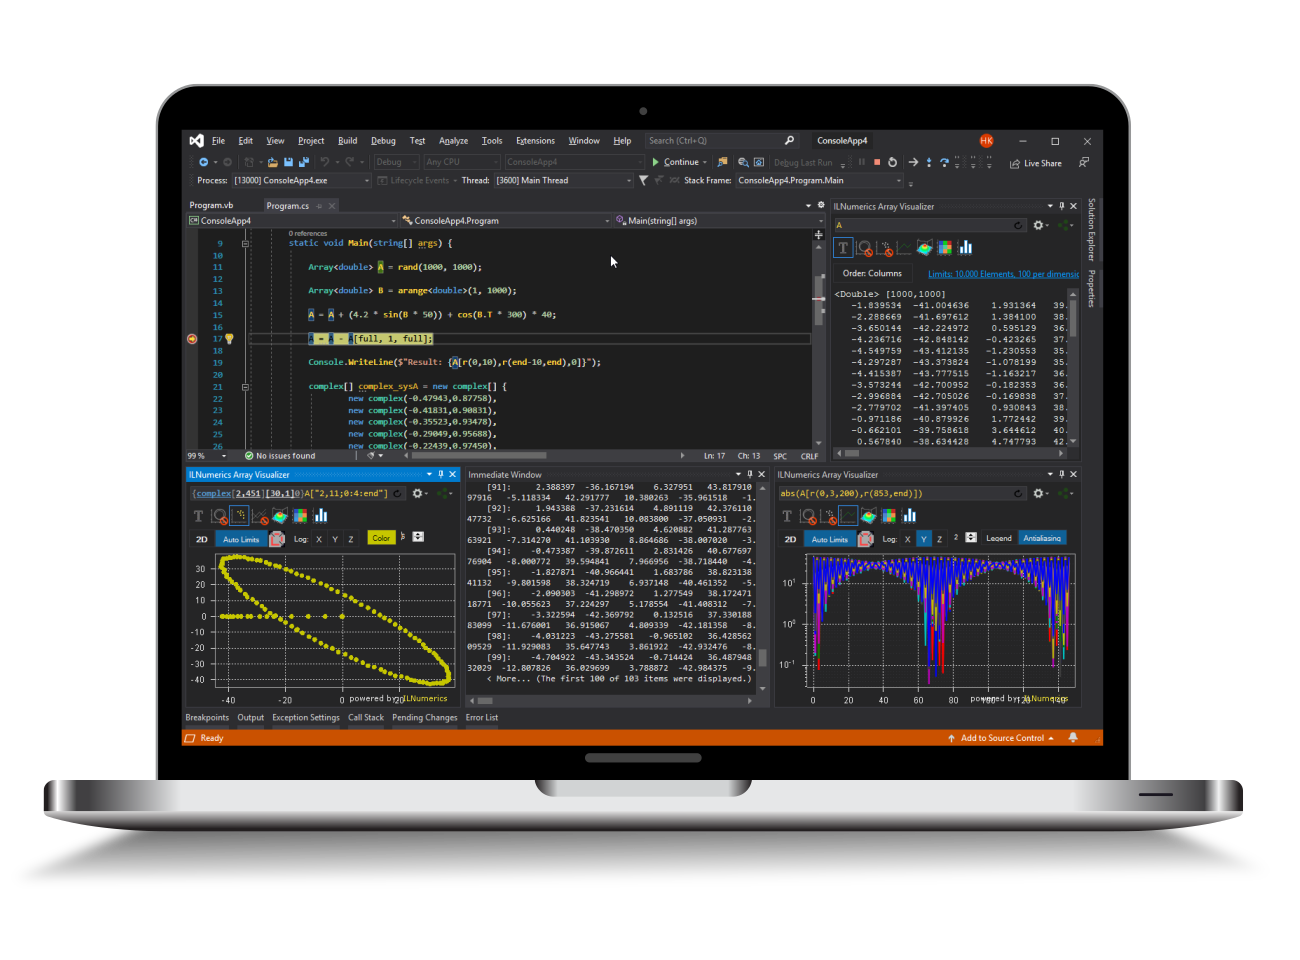
A Simple Visualization App with ILNumerics®
This section explains how to setup your first visualization with ILNumerics Visualization Engine.
You may ...
- Use one of the example projects and start making changes. Or...
- Start from scratch and add the required components manually. This is explained in the following paragraphs.
The full online documentation is found here: https://ilnumerics.net/docs.html
1. Static Visualization (all .NET platforms)
ILNumerics Visualization Engine allows to create sophisticated 2D and 3D plots and visualizations. Static visualization yield images or vector graphics. They can be created on any platform .NET runs on. (See below for interactive visualizations)
1.1 Create a new project
Create a new project in Visual Studio. Currently, ILNumerics supports C# and Visual Basic projects. Here, we go with a new C# Console Application, targeting .NET 5.0:
In the next steps configure the name of your app and the platform target, as usual.
1.2 Add Nuget Packages
Open the Nuget Package Manager Console (Visual Studio -> Tools -> Nuget Package Manager -> Package Manager Console). Here, execute the following command:
1.3 Write your Visualization Code
Static visualizations do not require a special setup. In the following we generate a simple line plot and export it as png image.
At the beginning of Program.cs add the following 'using' directives:
In the (auto-generated) Program.Main() method write the following code:
The whole Program.cs code would look like this now:
1.4 Run your App
Hit F5. Open the output path of your app (commonly: bin/Debug/net5.0/ ) and find the generated image.png:
Further readings:
Visualization Engine documentation
2. Interactive Visualizations (Windows only)
2.1 Create a new project
Add a new Windows Forms App to your solution:
In the next steps name your new project and select .NET 5.0 as platform target.
2.2 Add Nuget Packages
In Visual Studio open the Nuget Package Manager Console (Tools -> Nuget Package Manger -> Package Manager Console). Make sure to select your new Windows Forms project as 'Default Project':
Install the following package:
Note, that for interactive visualizations, the package ILNumerics.Drawing.Platforms is required. In difference to ILNumerics.Drawing (for static scenes) the package ILNumerics.Drawing.Platforms currently supports rendering on Windows only.
2.3 Set-up an Interactive Control
Double click on the forms designer to open the forms code view. Visual Studio generates a Form1_Load event handler for you.
We start be adding the following 'using' directives at the beginning of Form1.cs:
To your Form1 class add the following attribute somewhere:
The ILNumerics.Drawing.Panel control is the main interactive WindowsForms control in ILNumerics Visualization Engine. It provides all interactive features and supports OpenGL and GDI+ as rendering technology.
In the Form1_Load event handler, initialize the new instance of the ILNumerics.Drawing.Panel attribute:
We have added the panel instance to the Controls collection of the form.
Note for WPF Projects
If you happen to work in a WPF project, use the WindowsFormsHost WPF control and simply assign the ILNumerics Panel object to the host's Child property.
2.4 Configure the Scene
Scene configuration for interactive scenes is very similar to static scenes. Let's reuse the scene from the example above. Scene setup is best placed inside the panel_Load event handler:
This - again - creates a sample matrix A and generates a surface of the data. The only differences compared to the static scene above are:
- we don't have to create a new scene object. The panel control provides a Scene property which we can readily use.
- The plot cube is added to the scene using the Scene.Add() method.
- The plot cube is created, utilizing the 'two2Mode' constructor parameter. This configures the plot cube for 3D mouse interaction.
The complete app's Form1.cs:
2.5 Run the App
Start your app! Use the mouse to rotate the scene (left drag), pan (right drag) and zoom (mouse wheel).
Just another Example
Let's have some more fun with another visualization! In the code for Form1 replace the Panel_Load function with the following code:
Hit F5 to start the application. You should see a form similar to this:
Use the left and right mouse buttons to rotate and pan the plot - the mouse wheel to zoom. Visit the Visualization documentation in order to read about all details of plots and visualizations with ILNumerics.
Further Reading
Visit the online documentation and learn all aspects of ILNumerics Ultimate VS.
Visit the online documentation for the Visualization Engine.
Learn about new debug features when authoring numerical algorithms.
Download a Free Trial of ILNumerics Ultimate VS
Contact sales to ask about Prices and Licensing